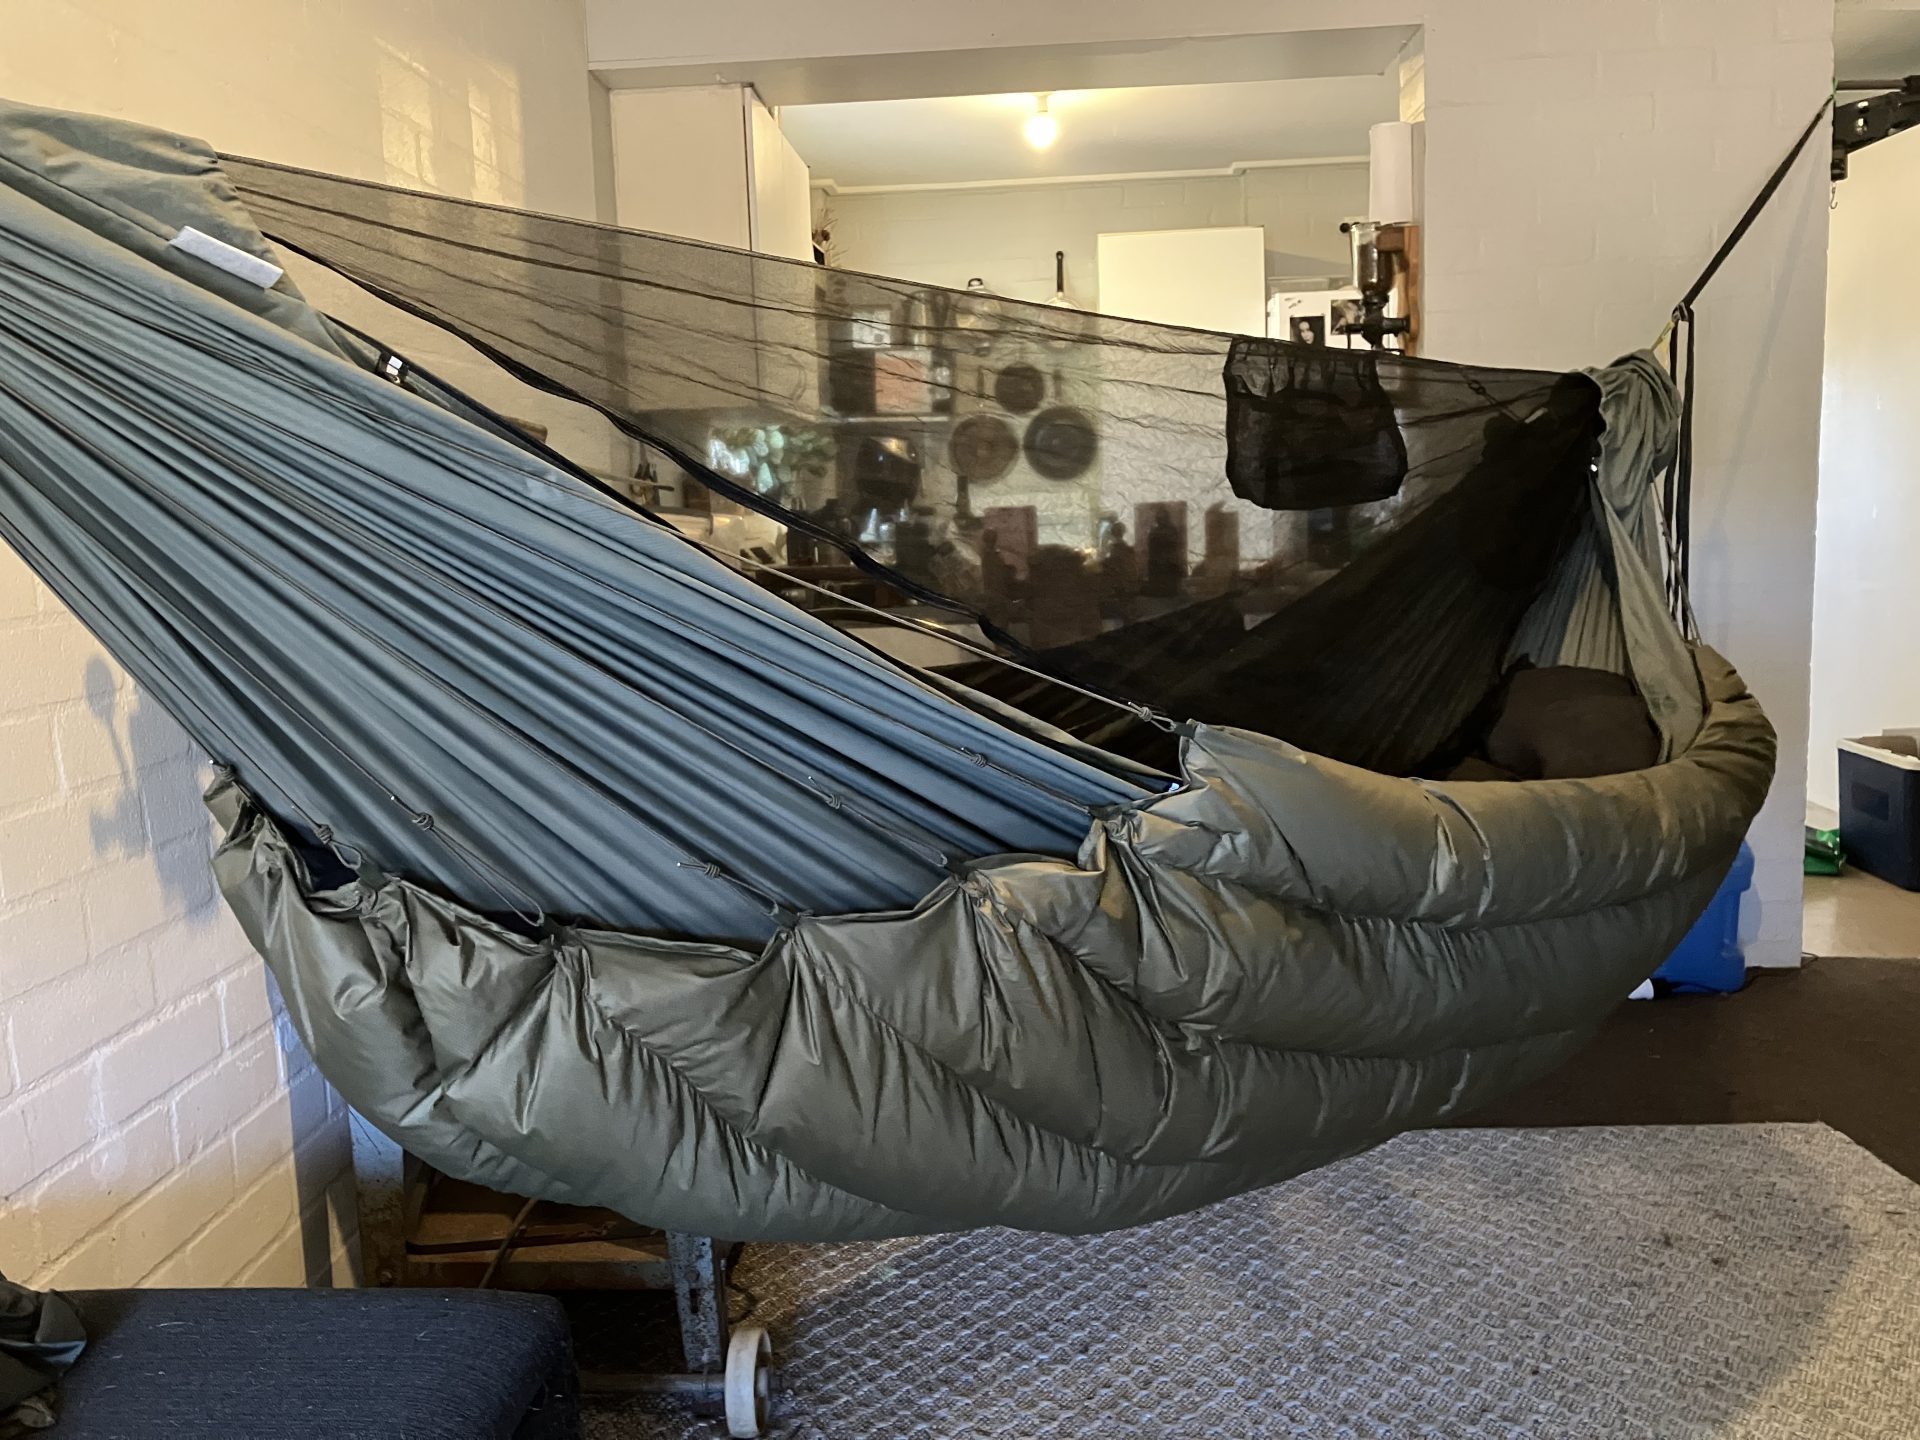
In a hammock, the best way of keeping your underside warm is a down quilt suspended underneath in such a way that it snugs up against you. I finally got around to making a new one; my third. The one I’ve been using for the last couple of years has given me a few nights on the edge of being too cold, and for the last six months I’ve had a box full of nice 850fp goose down sitting on the shelf.
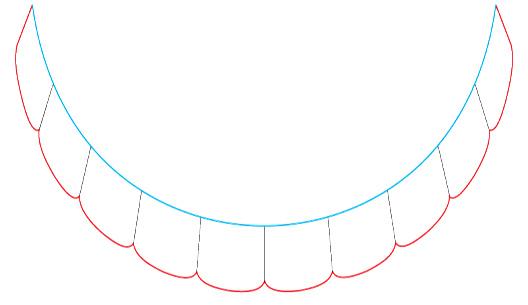
I’ve been using the somewhat lesser known “clew suspension” method for years now, wherein a number of shock cord “nettles” are spaced along each end. In my experience, this does a much better job of snugging the quilt up against you and excluding drafts and voids than the traditional “channel suspension” method. Leiavoia is credited with this innovation. One of the potential benefits of this method over channel suspension is that it can be used to suspend an irregular or asymmetrical shape, rather than the usual rectangle. So my plan with this build was to make a quilt just the right size and shape to cover me, while shedding unnecessary weight by not covering any extraneous areas.
I thought I’d get this knocked out in a day. It took me four. Lots of that time was just staring at it with vacant eyes, trying to make the curves make sense in my head. There was more than a little bit of unpicking and re-doing sections. I came close to tears at least once.
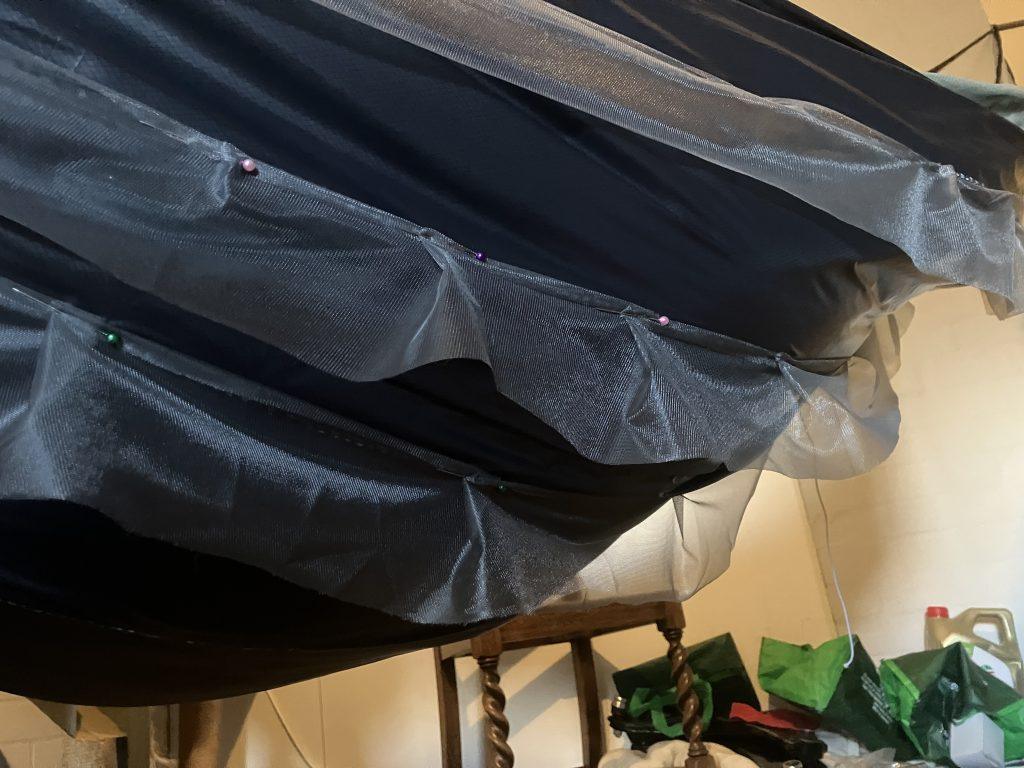
I started by trying to make the inner layer hug the underside by having my partner lie in it, pinning excess fabric, then cutting darts.
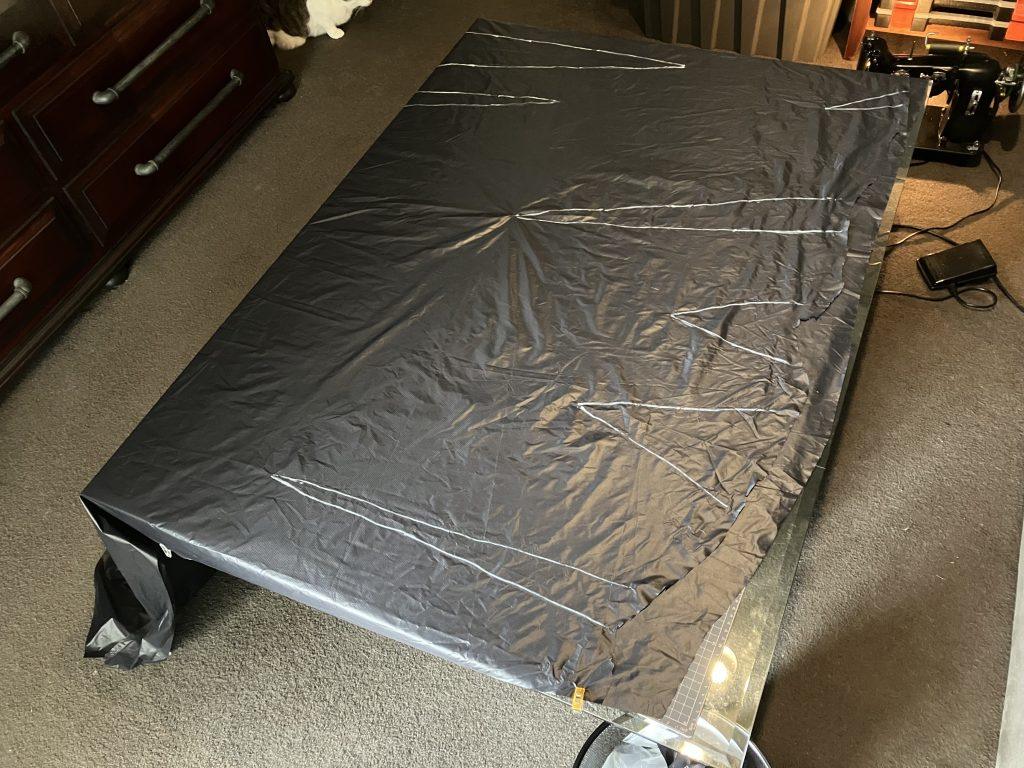
That made my brain melt, so I abandoned it and instead cut a shape that covered me in the three positions I sleep in. Throughout the project, I used sewing clips larks-headed on temporary shock cord clews to hold it in place (very helpful!), and my partner or a heavy doona in the hammock as a surrogate body. This is the shape I ended up with for the piece of fabric that would form the inner layer:
This shape is very irregular, but at least it’s 2D, unlike the darted version I tried first.
Next came sewing baffles to the inner layer. Baffles are typically made from mosquito netting and serve to keep the two layers the right distance apart. I wanted a dual differential quilt wherein the outer layer is both longer and wider than the inner layer so that as it curves around my body the outer layer doesn’t get pulled tight and compress the down into uselessness. Figuring out the measurements involved is helped a lot by using Catsplat’s calculator spreadsheet (Discussed here on Hammockfrorums.net.
This version includes a metric conversion.

Images extracted from Catsplat’s calculator
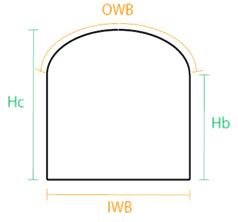
I wanted a quilt that would take me down to -10ºc or a bit lower. Most of the big quilt makers agree on these thicknesses and their attendant ratings.
| Imperial | Metric | ||
| Degrees F | Loft Height (in) | Loft Height (cm) | Degrees C |
| 40º | 1.5″ | 3.81cm | 4.44º |
| 30º | 2″ | 5.08cm | -1.11º |
| 20º | 2.5″ | 6.35cm | -6.67º |
| 10º | 3″ | 7.62cm | -12.22º |
| 0º | 3.5″ | 8.89cm | -17.78º |
| -10º | 4″ | 10.16cm | -23.33º |
| -20º | 4.5″ | 11.43cm | -28.89º |
Loft height refers to the height of the chambers at their thickest. The calculator helps here. I went with a 2.5″ baffle. I eyeballed making it slightly thicker in the centre of the quilt, under my torso, and tapered it towards the ends where full quilt thickness is less important, to save weight. Here’s the Hammockforums discussion I referenced.
I drew lines on the inner layer with a chalk marker to divide it into nine equal sections (keeping them equidistant along the length of this weird shape was fun) then pinned the baffles in place. I would have preferred something other than pins, which make small holes in the downproof fabric, but for putting them in place while hanging upside down, pins work well. Last time I made an underquilt I cut long, curved baffles to get the differential along the length of the quilt. This time I pleated straight baffles. Next time I’ll definitely do the long curved baffles again. It made getting the length of the outer shell right easier. Baffles are nominally 2.5″. Should be good for about -12ºC/10f
I used Gutermann Mara 100 thread and a #8 needle. My sewing machine is a 1950’s Pfaff 130 that I restored. It sews like a dream. I highly recommend the old all-metal domestic machines from before everything started getting made of plastic.
Once the baffles were sewn to the inner shell, I had to attach the outer. Don’t forget to account for the outer edge of the quilt, same height as the baffles. For this part of the project I ended up drawing the baffle width line, then hanging the quilt under the hammock (from the sewing clips on shock cord, with a heavy doona and pillows mocking my body) so I could pin it to the baffle while seeing the way the fabric hung/pulled, then took it to the sewing machine and sewed. You can only do this one baffle at a time for topological reasons. There was a lot of back and forth.
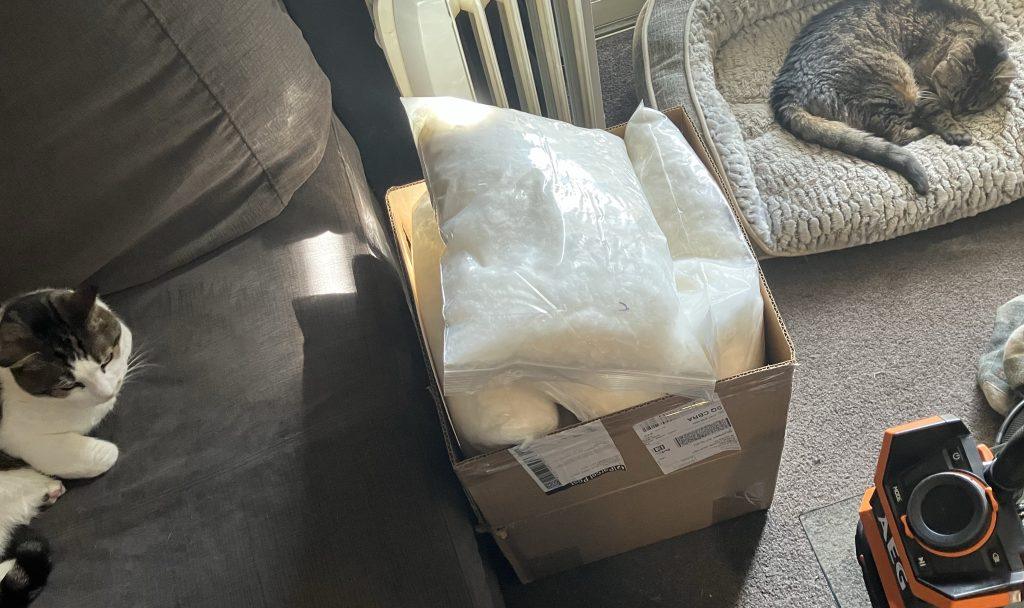
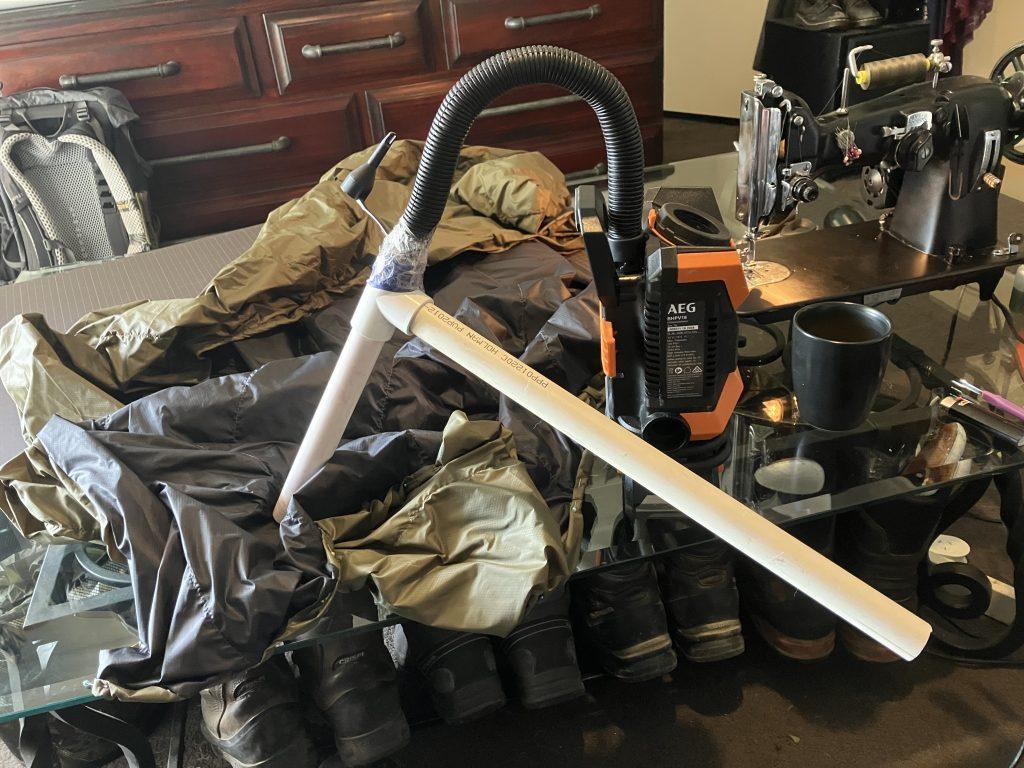
Once the two sides were sewn to the baffles I sewed one end shut with a rolled hem and prepared myself mentally for a blizzard of down. A venturi “down eductor” is definitely the way to go when stuffing down. You can get 3d printed ones, but this is unnecessary; a blower, PVC tee and two tubes is all you need. Tape the blower to the tee such that the blower nozzle projects past the middle of the tee. Remove some down from the packet into a large tub and break up any clumps. You want the down loose and at full loft prior to stuffing. You will make a mess.
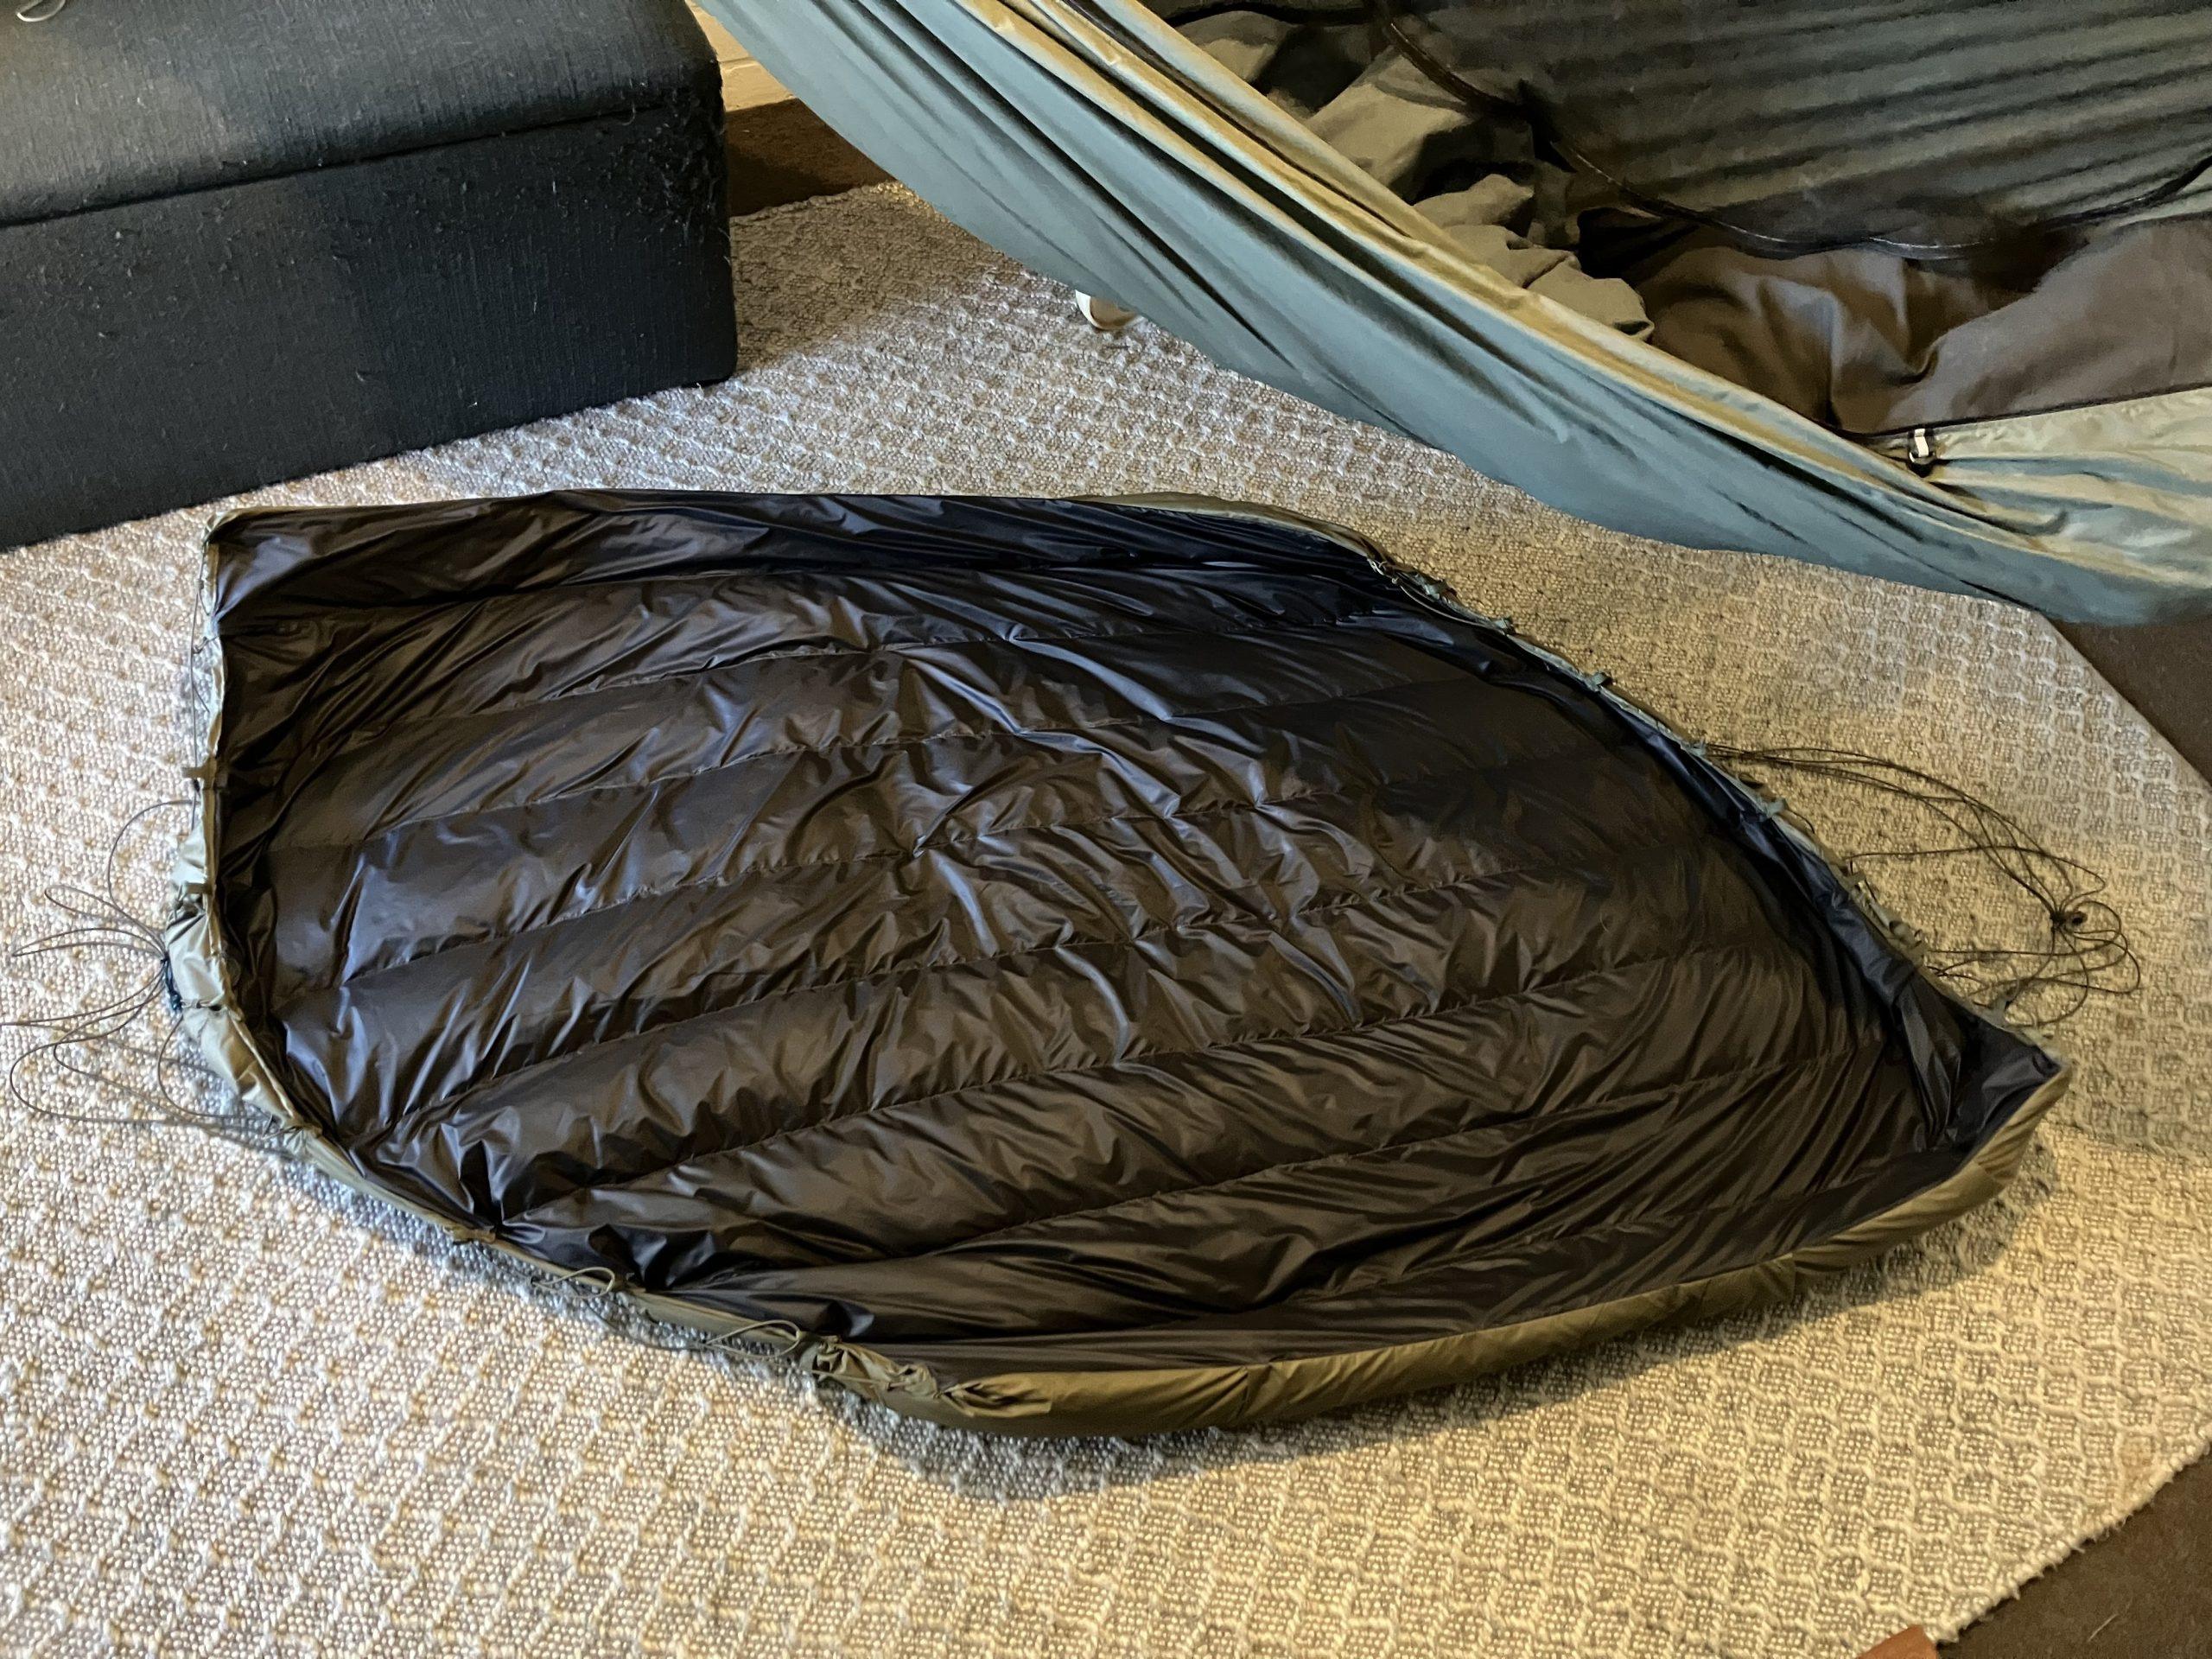
You can in theory determine how much down goes in each chamber mathematically, but my chambers were a non-euclidian eldritch horror, so I eyeballed it. Stuff a chamber, roll and pin/clip the hem closed, then move to the next one. Make sure the filled chambers are well closed, or you’ll blow down out of it when you fill the next one and make a big mess. I ended up accidentally overstuffing most of the chambers significantly, then going back and removing excess down from each tube. It may still be slightly overstuffed, but I’m okay with that.
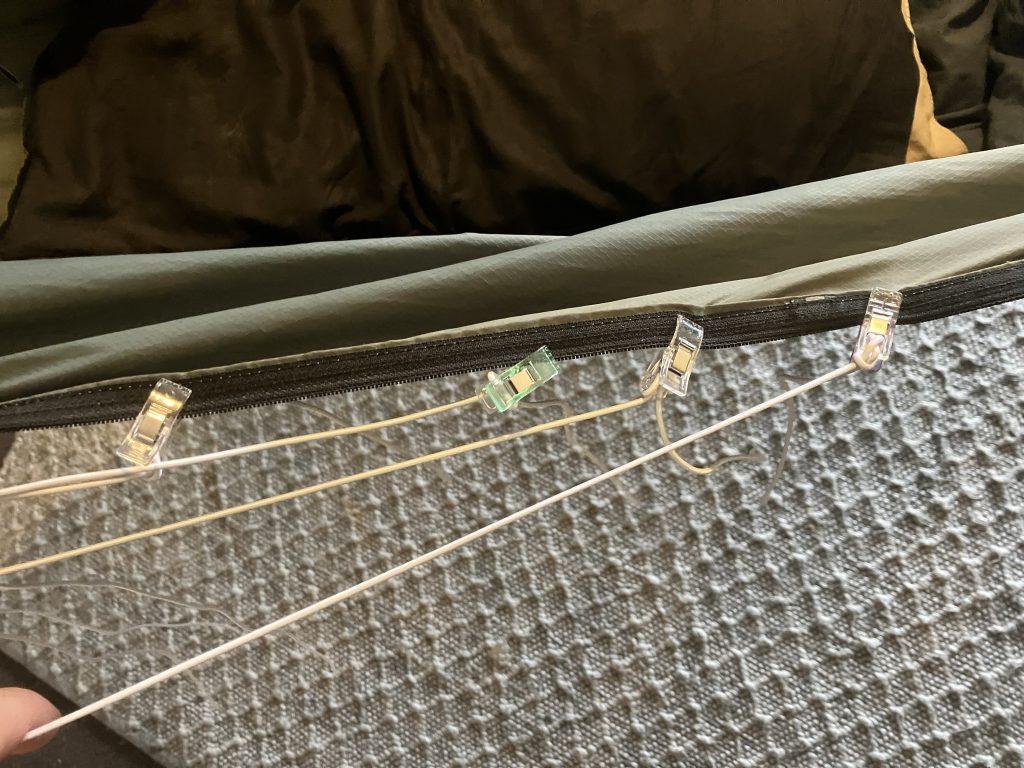
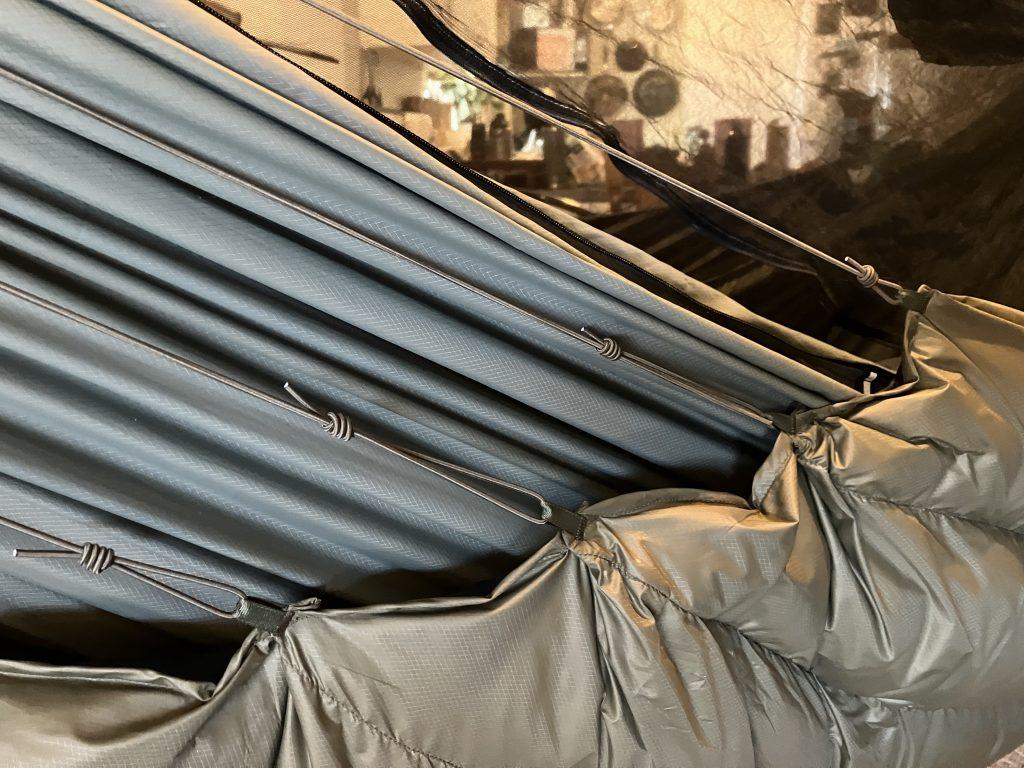
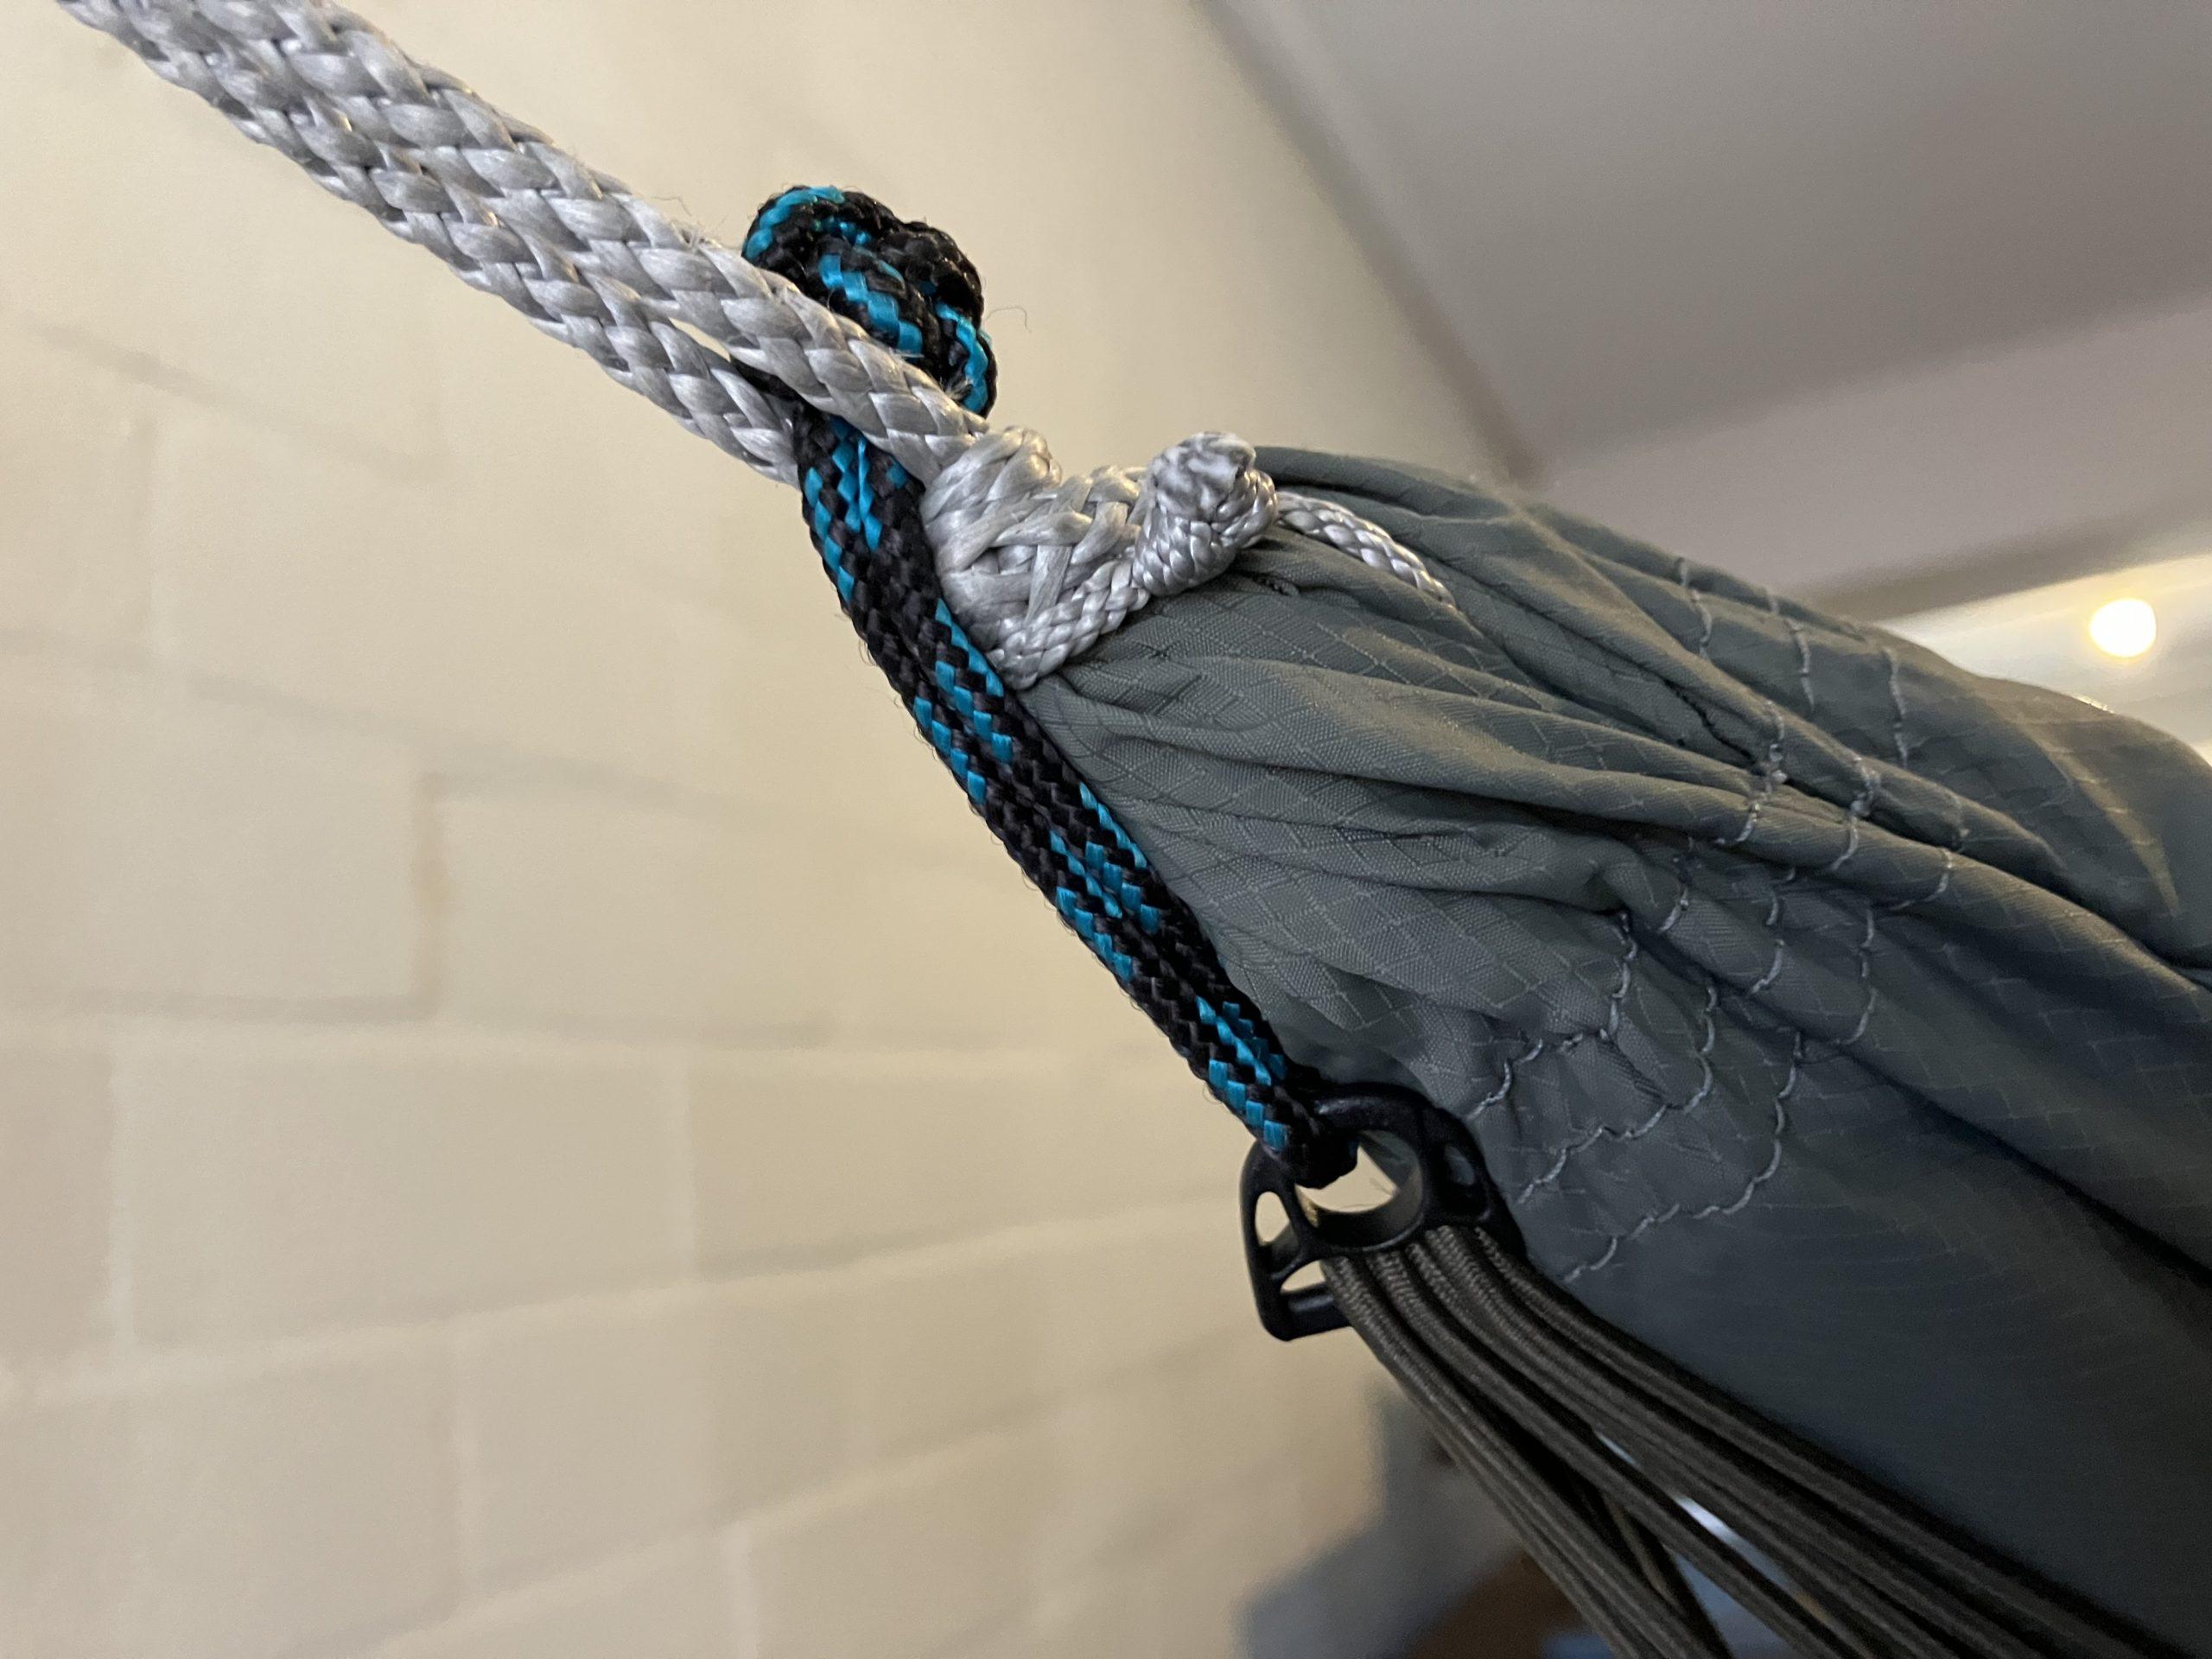
Once the quilt was stuffed I hemmed the final end and hung it under the hammock, pinned and pleated the short ends slightly at the ends of the baffles, just to reduce scalloping that could allow drafts. I sewed grosgrain loops along the short ends to attach my suspension to.
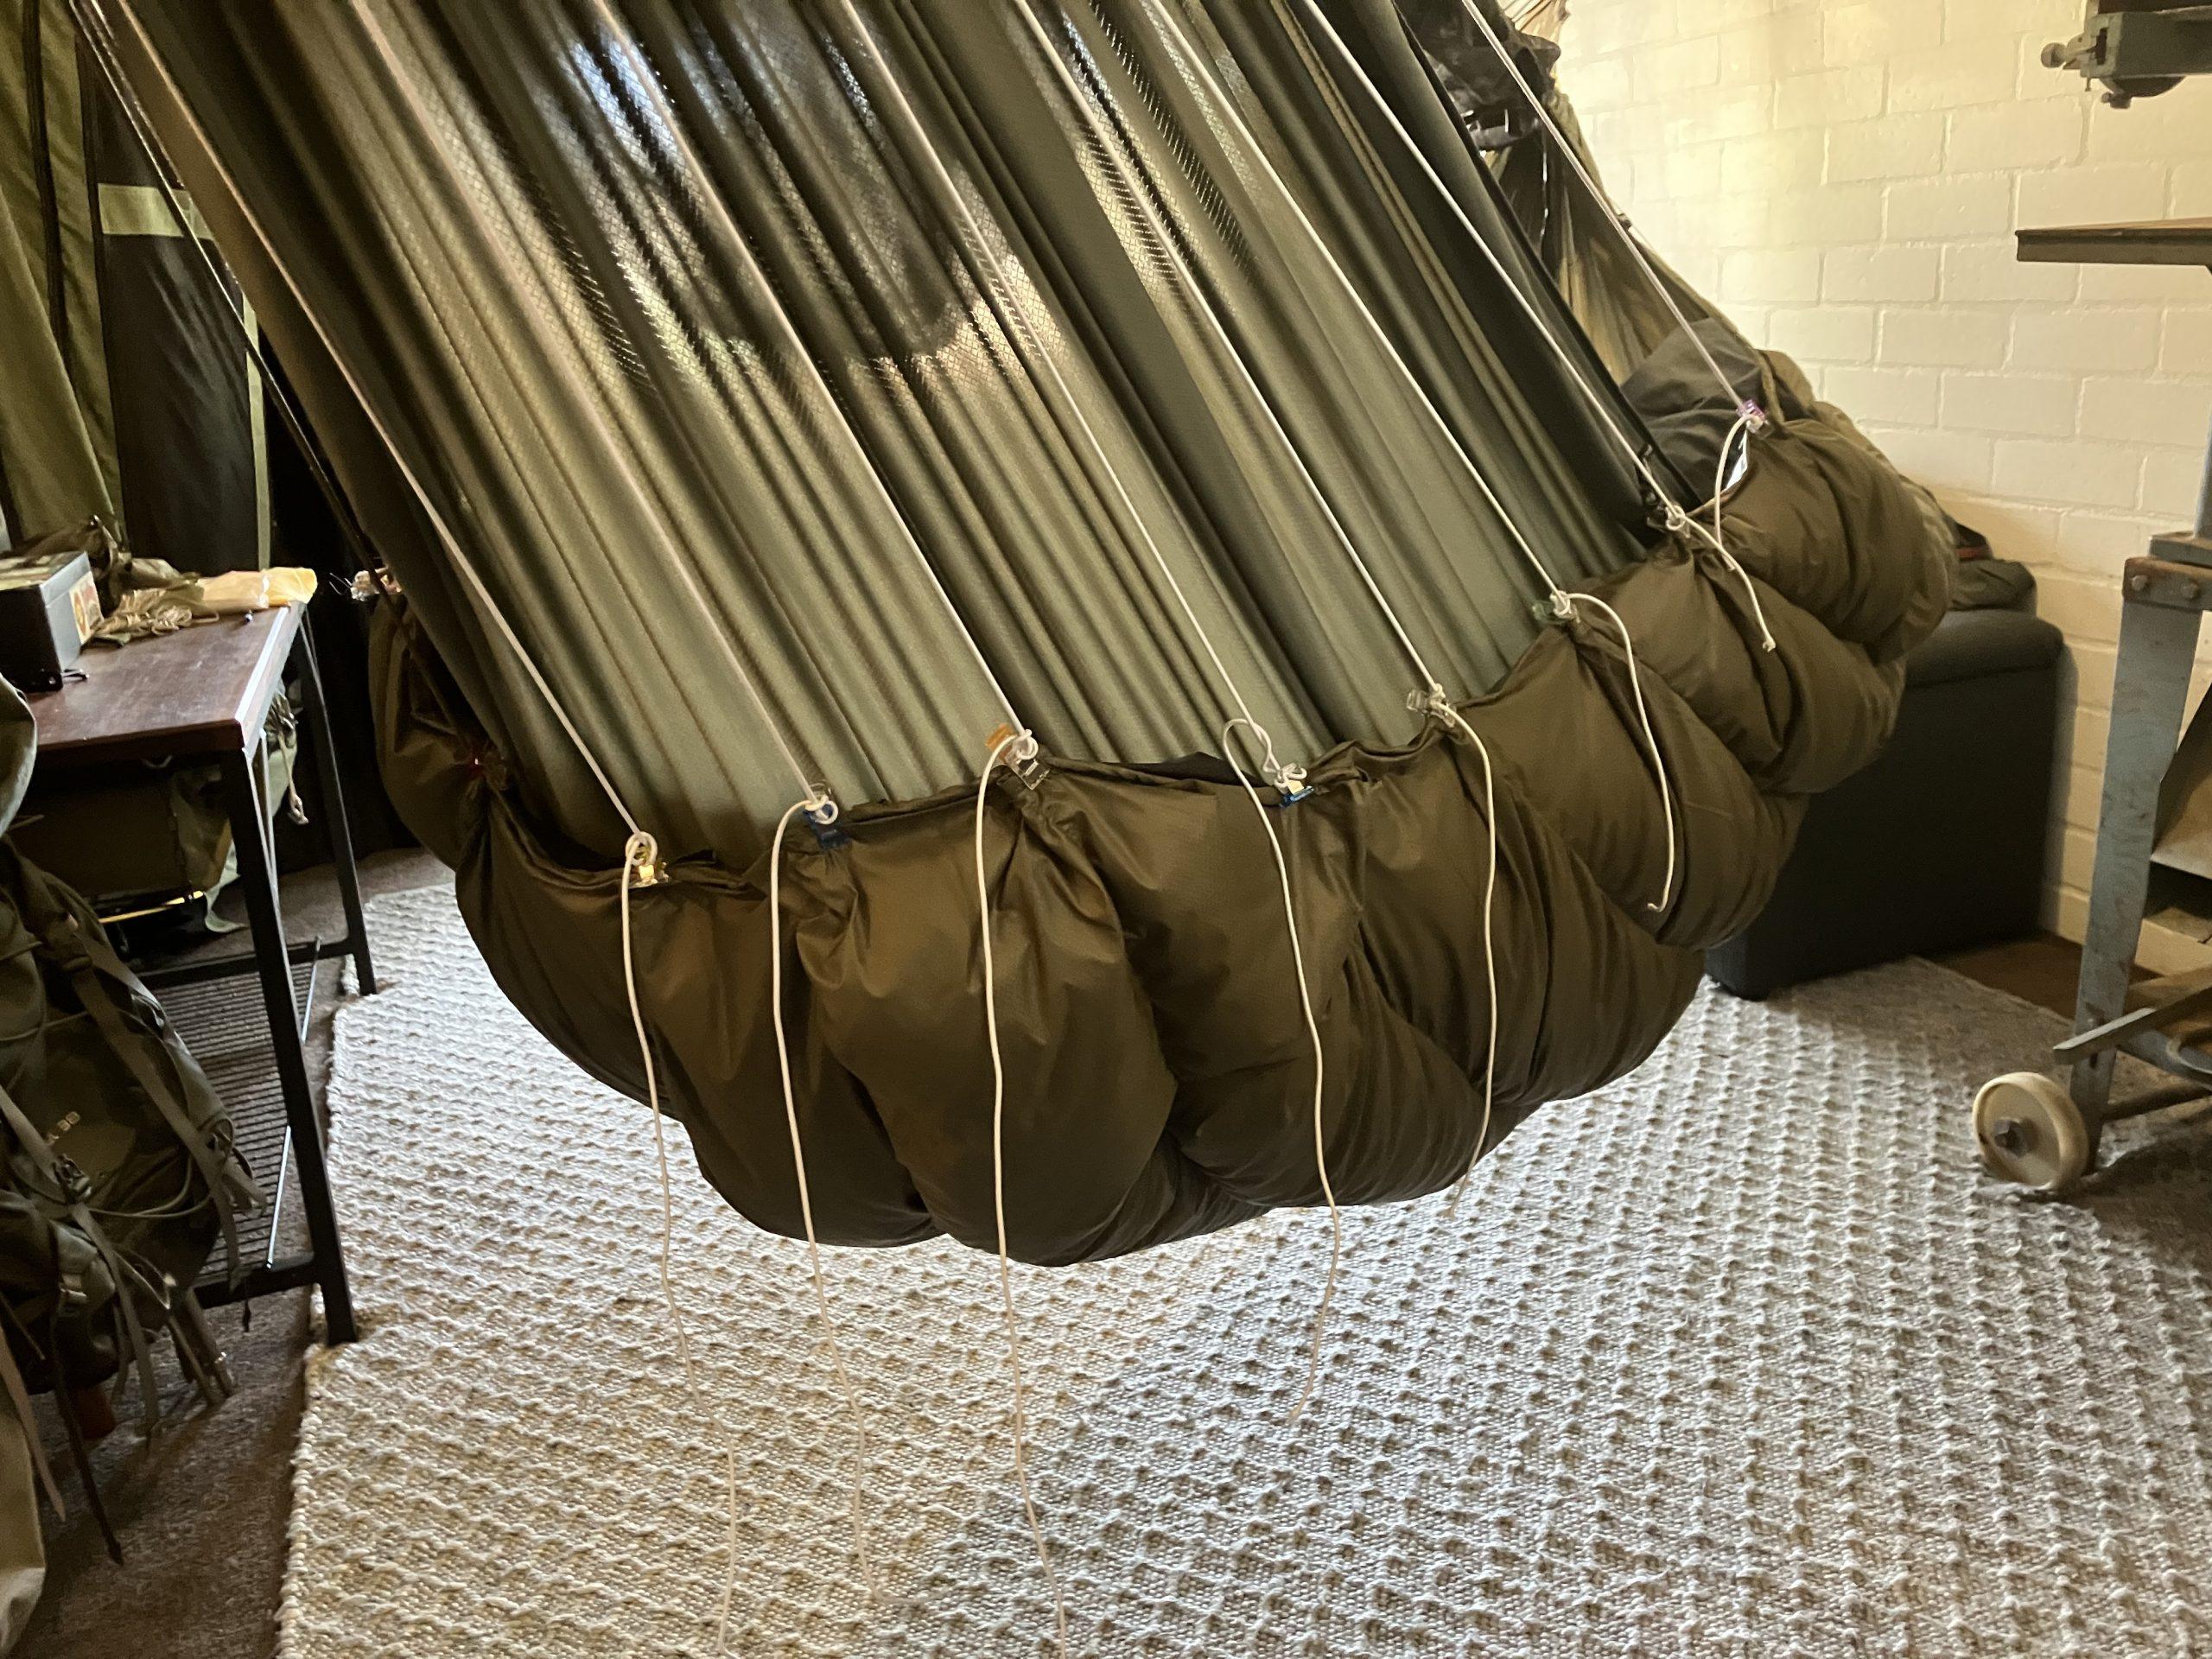
All that was left was to rig it. I used 3/32″ shock cord. Each nettle (many nettles make a clew) is tied off to one grosgrain loop, doubles over a beastie dee (equalising the tension), then ties off to another grosgrain loop with a sliding knot that allows adjustment to dial in the tightness. A diamond knot attached to the beastie dee slips through the hammock’s continuous loop and just stays there.
The final weight is 615g; a full 140g lighter than the much less warm one I made last time using reclaimed, lower quality down.

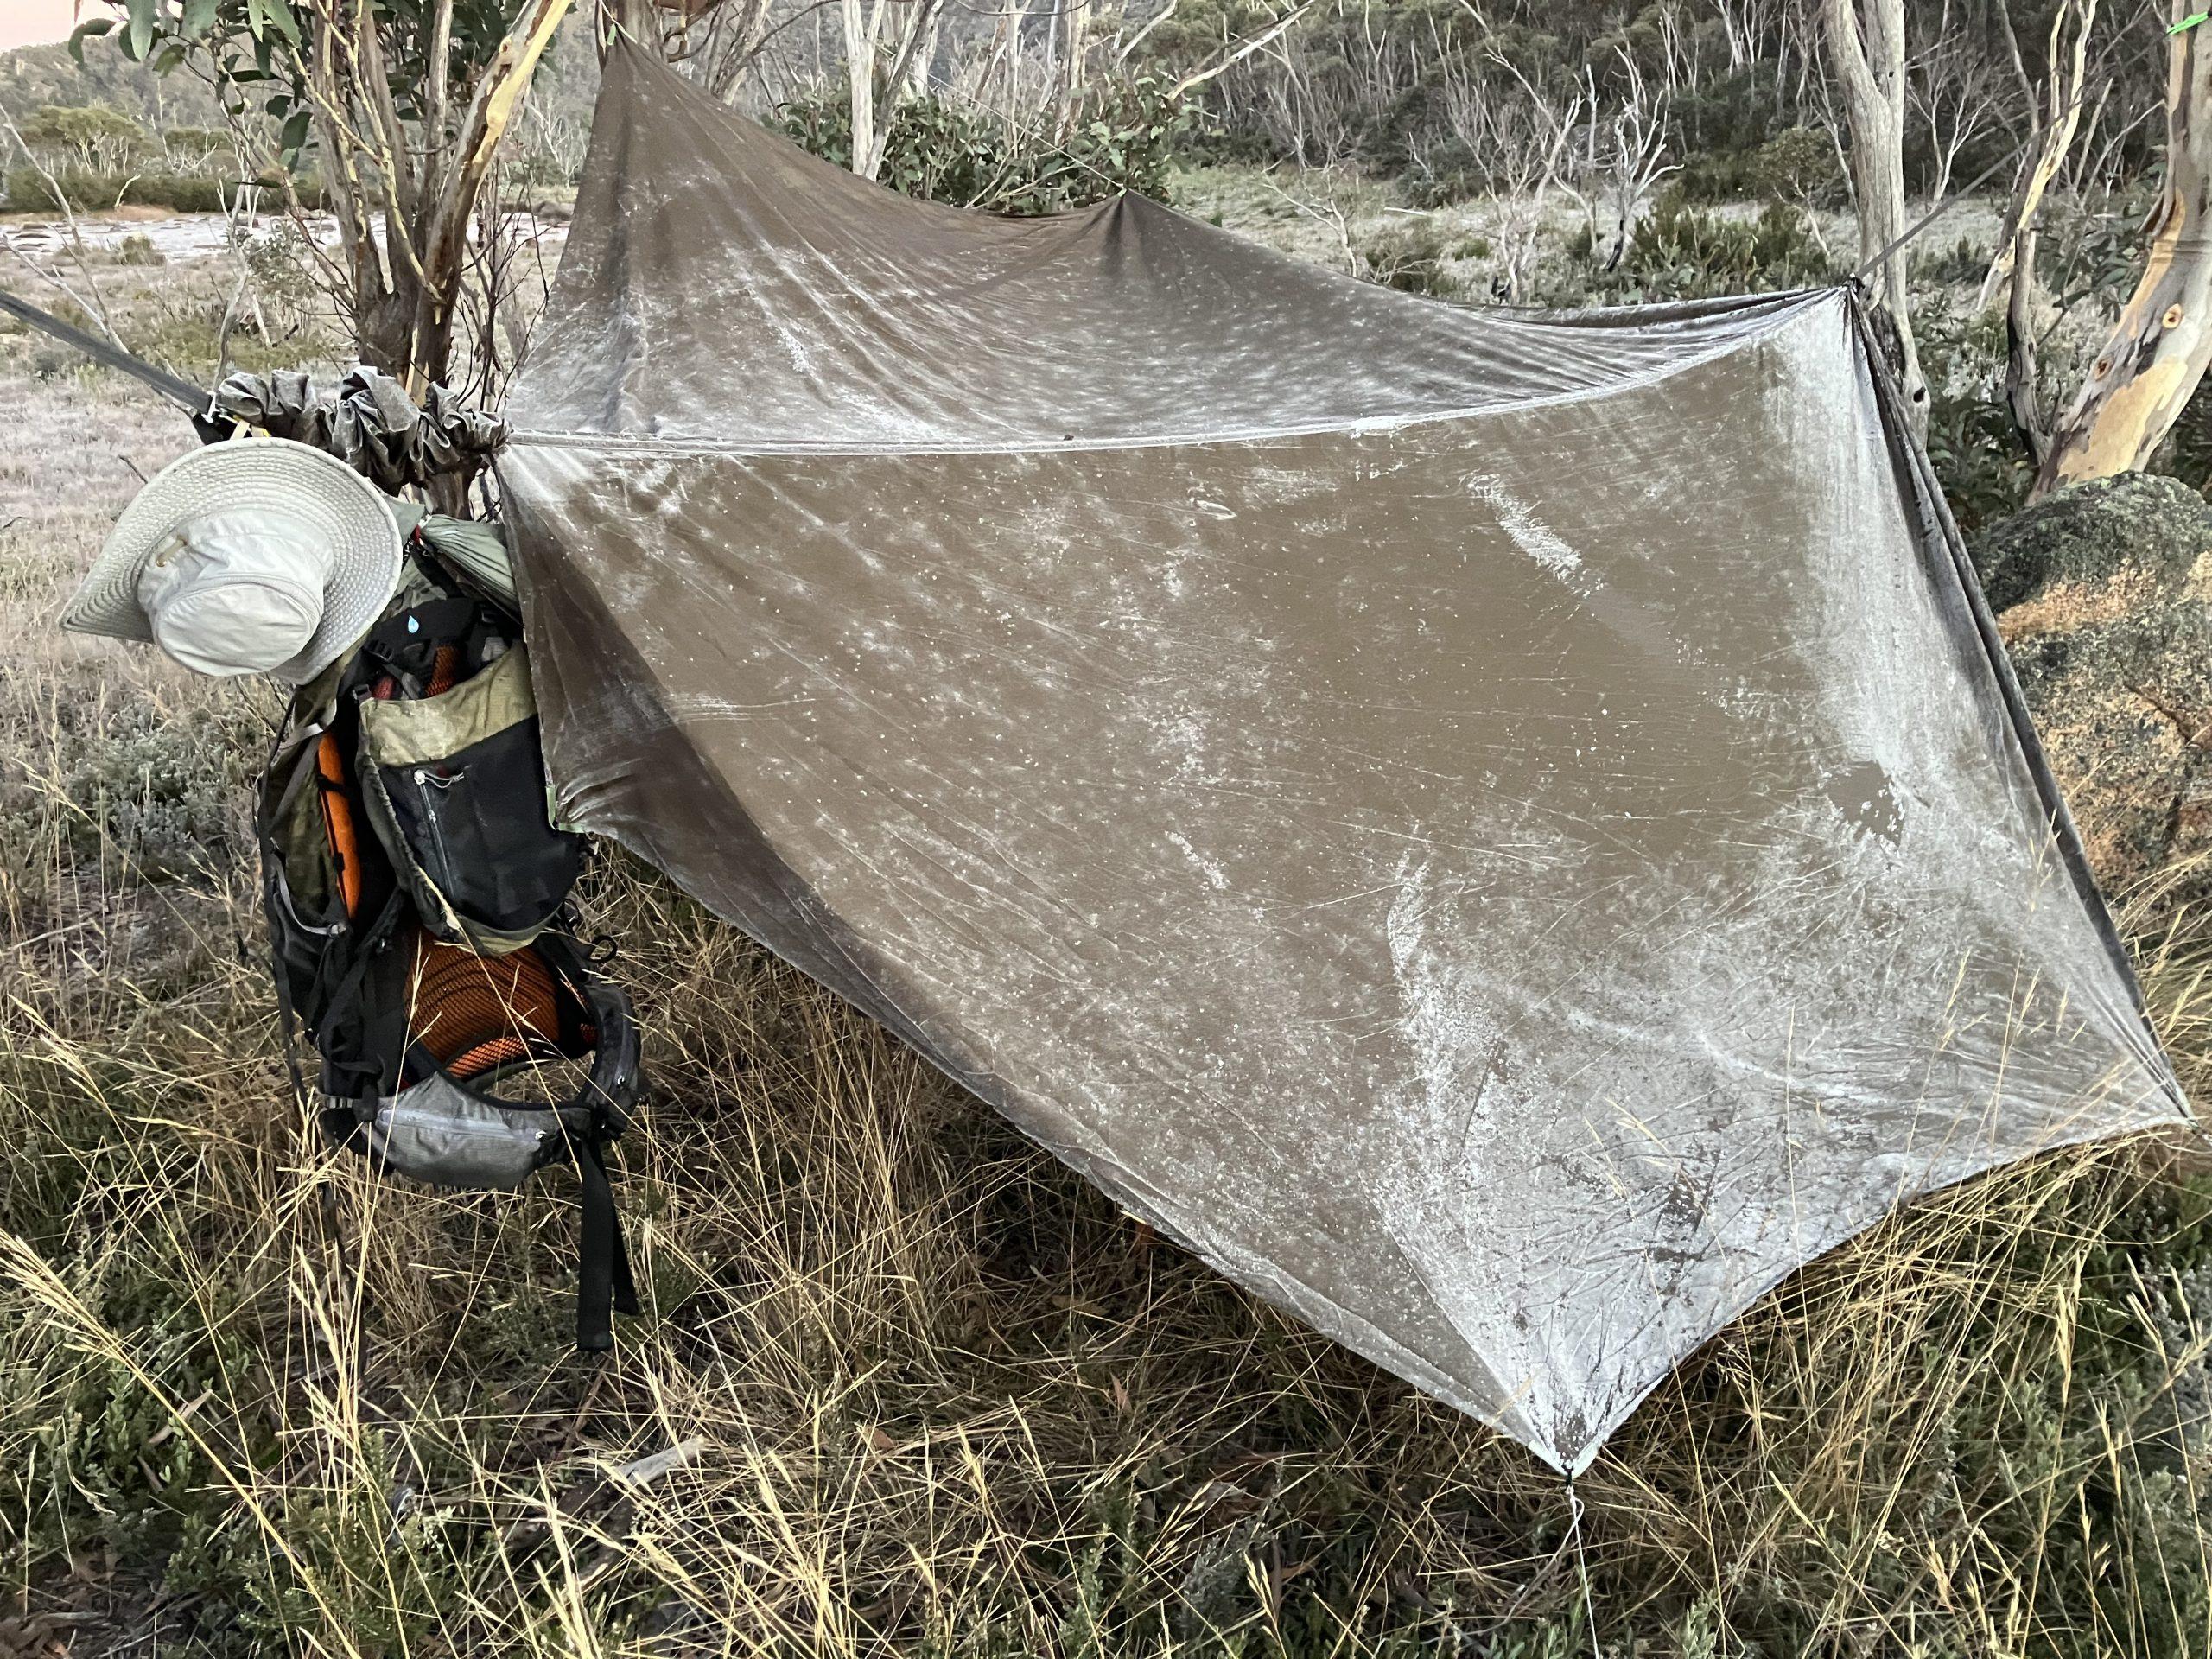
A day after finishing it, I took it on a two night hike of the Scabby Range in Namadgi, led by Monika of the CBC. It got cold enough on the first night to freeze a litre of water solid. It took a little while to build up warmth in my nest, but once I did, I was toasty all night long. I’m extremely pleased with how this has turned out. The only downside is that I’ve still got a bunch of down left and I’m going to have to make a new top quilt now.
Side note; I’ve been testing an underquilt protector I made from breathable/waterproof material and can report that it does an effective job of allowing vapour to pass through and not making the underquilt wet the way one made of full waterproof material does.